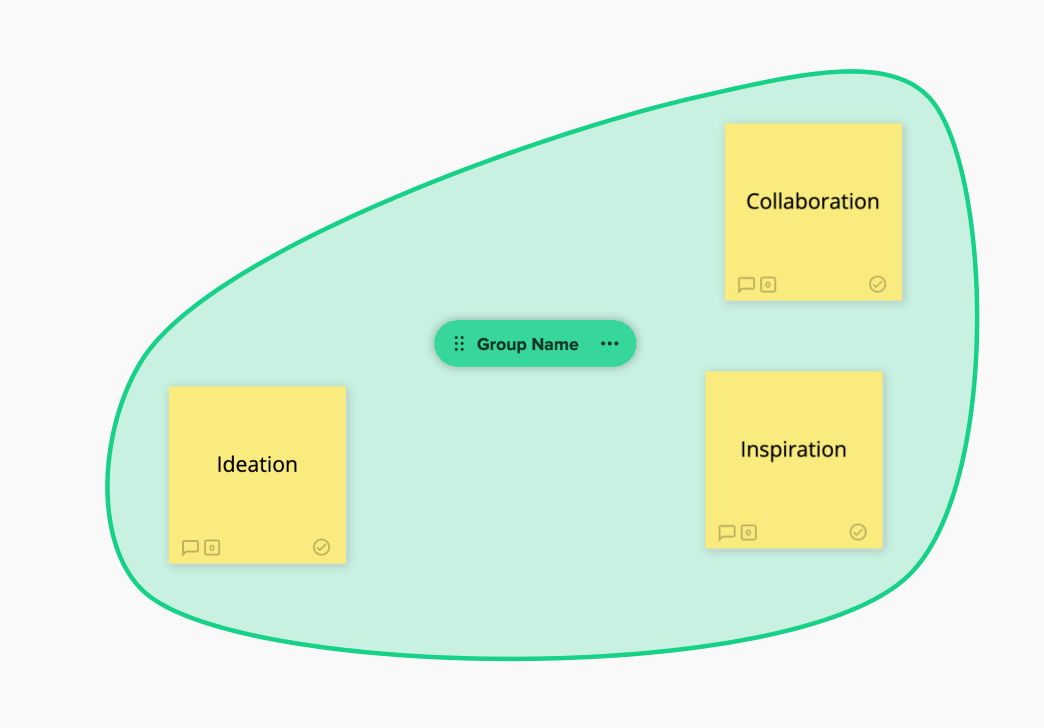
Idea Grouping lets you surround a selection of sticky notes with a colored bubble and label.
Idea Grouping can work as a stand-alone tool on a blank infinite canvas, or as a perfect complement to our structured smart sections and exports, adding an entirely new dimension to every Storm.
-png.gif)
To Create a Group:
- Select the sticky notes you would like to group together, either by holding Shift on your keyboard and selecting individual sticky notes, or by holding Shift while clicking and dragging on an empty area of your Storm to select an area of sticky notes.
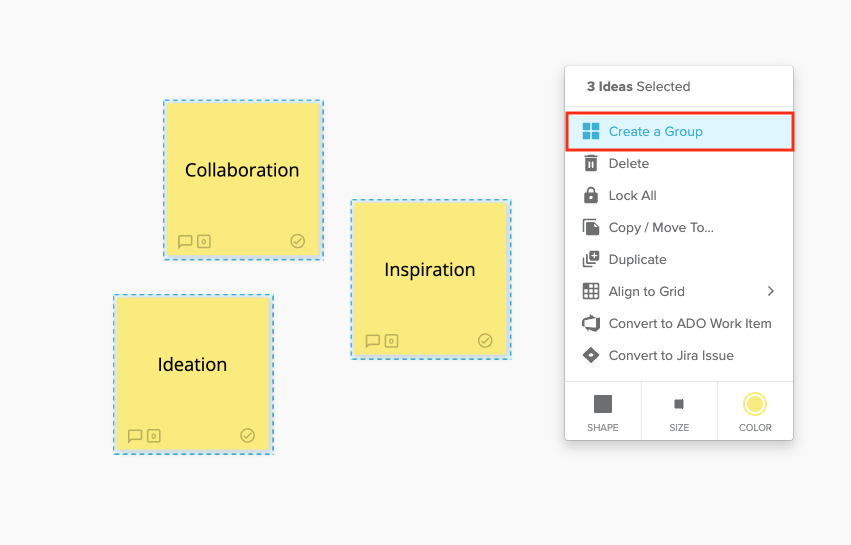
- In the context menu that appears, select Create a Group. The selected sticky notes will be wrapped in a colored border and background.

- Type in a name for the Group and press Enter on your keyboard, or click outside of the text input field to save the Group's name.
To Change the Name of a Group:
- Click on the Group's name within the Group's center panel.
- Type in a new name for the Group and press Enter on your keyboard or click outside of the text input field to save the change.
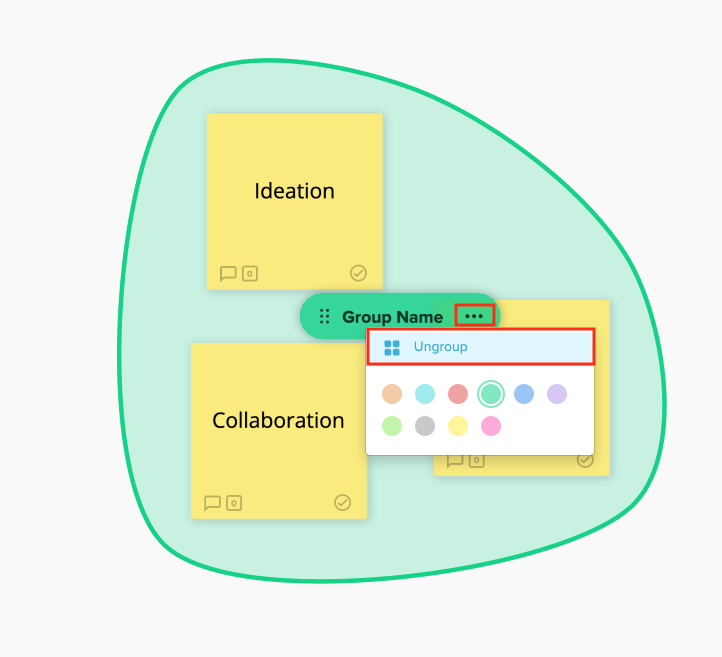
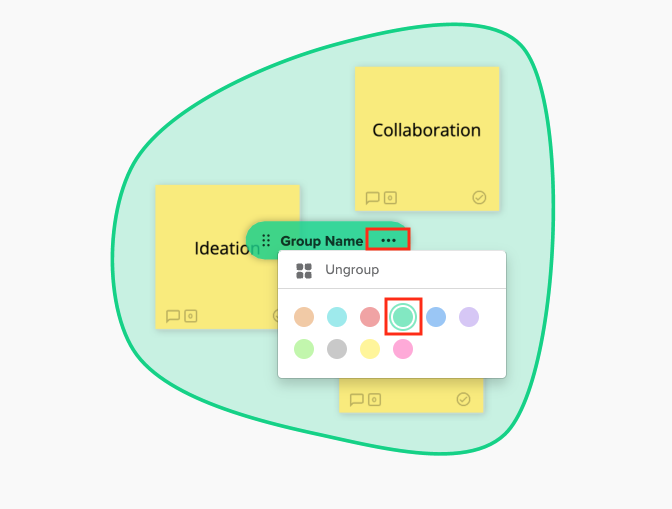
To Change the Color of the Group:
- Click the 3-dot icon on the right side of the Group's center panel.
- From the color palette that appears, select a new color for the Group. This will change the background and border to the selected color.
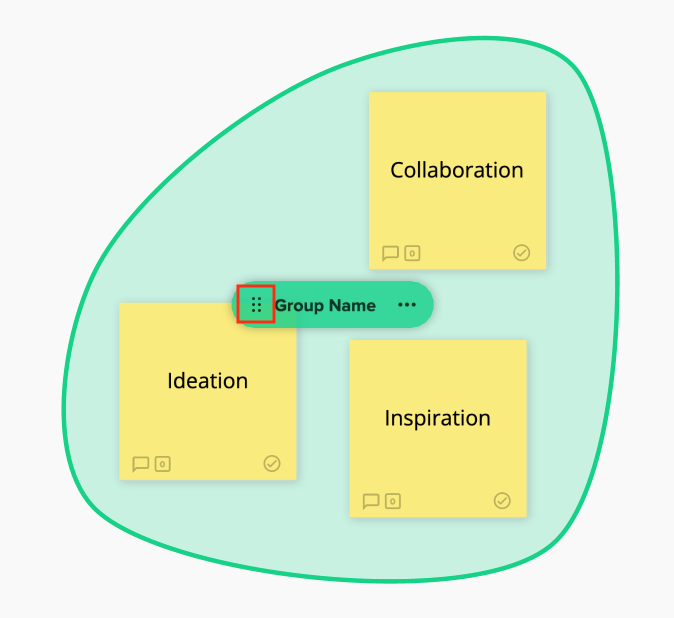
To Move an Entire Group:
- Click and drag the 6-dot icon or anywhere else on the Group's center panel. This will move all sticky notes in the Group to the new location.
To Move a Sticky Note Within a Group:
- Click and drag the sticky note to a new location in your Storm.
- The Group will automatically resize to include the sticky note in its new location.
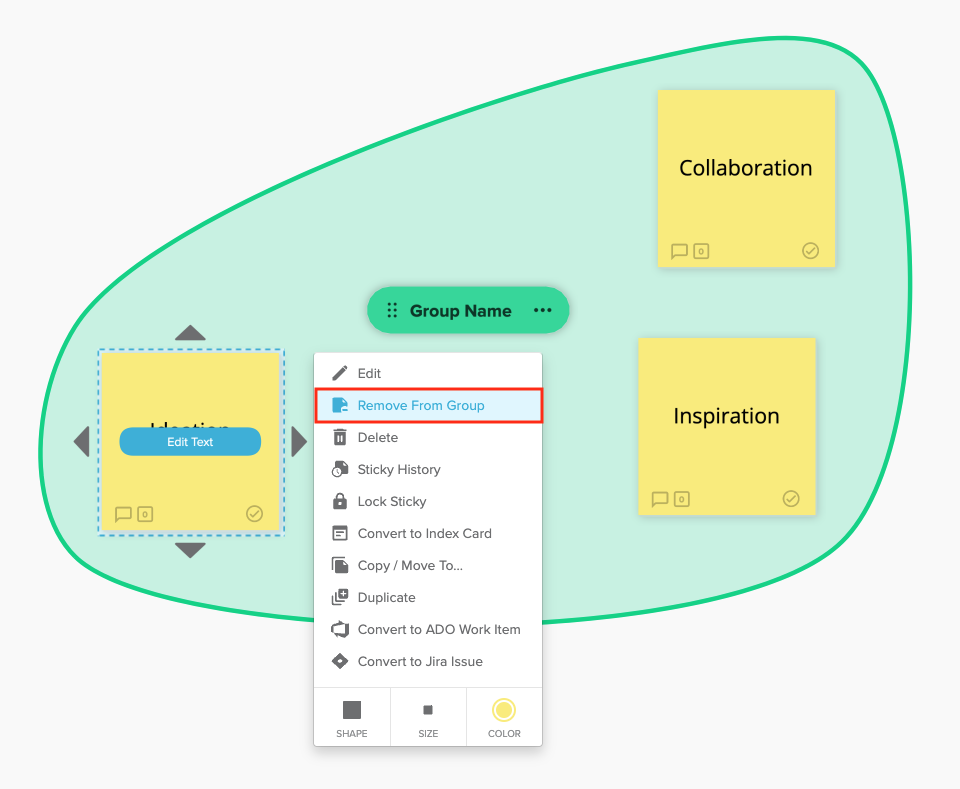
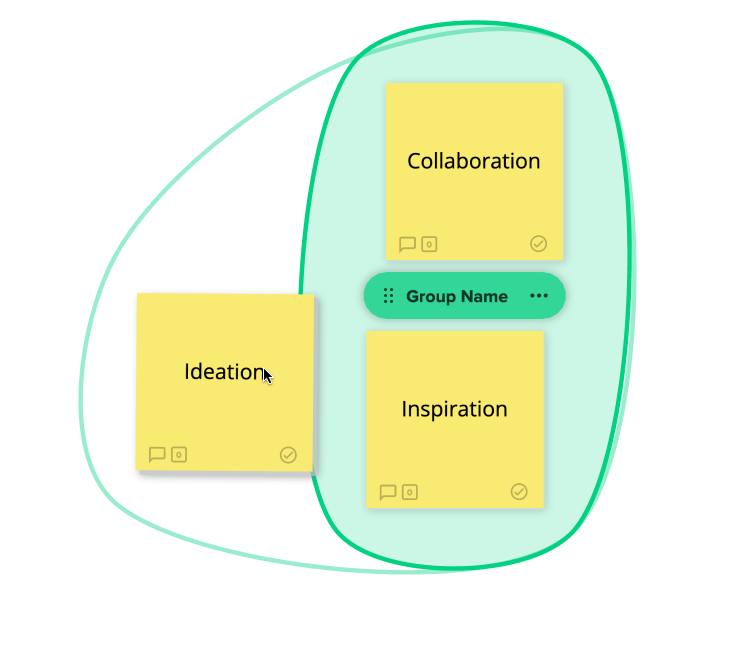
To Remove a Sticky Note from a Group:
- Click on the sticky note to bring up its context menu.
- From the context menu, select Remove from Group.
- The Group will automatically resize to include only the remaining sticky notes.
Tip: You can also hold e on your keyboard before clicking and dragging a sticky note to quickly remove it from the Group.
To Add a Sticky Note to a Group:
- Click and drag the sticky note to a location near the Group. The Group will automatically expand to include the sticky note.
To Ungroup a Group of Sticky Notes:
- Click the 3-dot icon on the right side of the Group's center panel.
- In the context menu that appears, select Ungroup. This will remove the colored border and background.